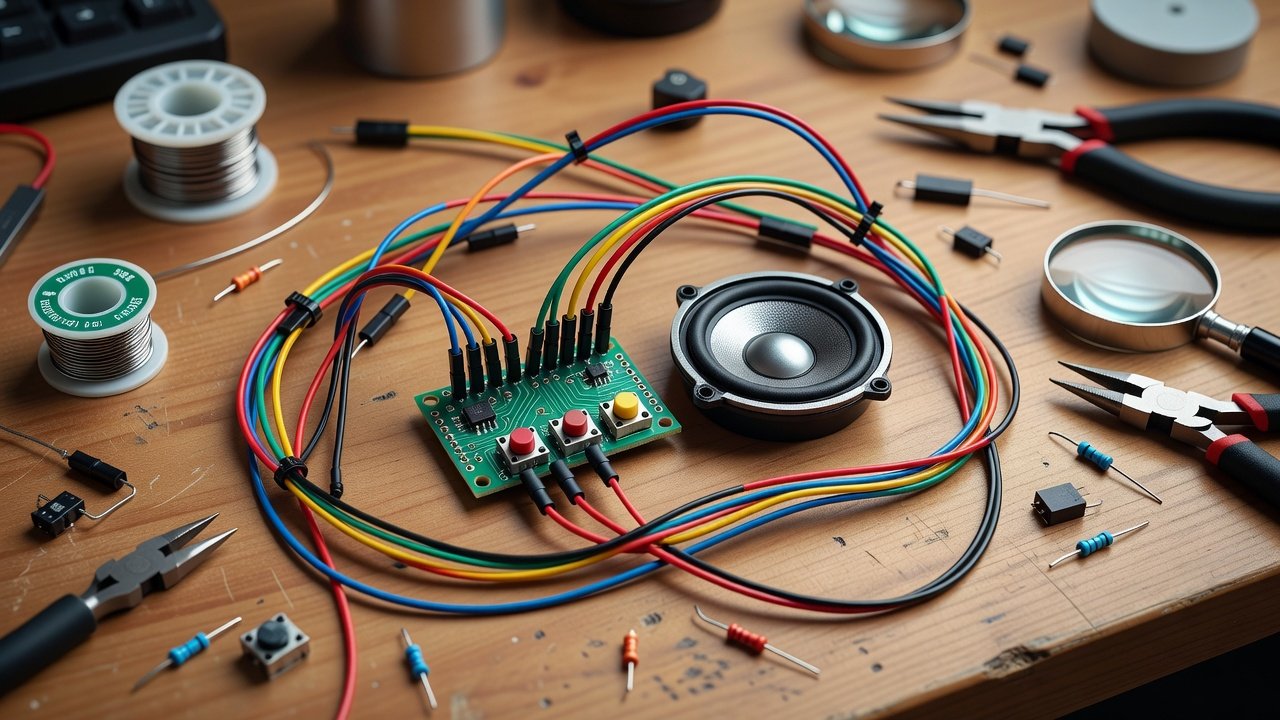
A B9 that moves and lights up but stays silent feels unfinished. Sound is what turns a display piece into a character, and it is also one of the easiest upgrades to add to a finished build, because audio hardware is small, cheap and self-contained, with little tie to the rest of the wiring. This guide covers choosing a sound board, powering and wiring a speaker, triggering clips from buttons or a controller, and the licensing questions around the audio itself. It builds on the internal electronics overview and pairs with the addressable LED retrofit, since lights and sound are usually triggered together.
Two practical board choices
For a fixed set of short clips, two boards cover most builds.
Adafruit Audio FX Sound Board
The Audio FX board plays WAV and OGG Vorbis files at up to 44.1 kHz, 16-bit stereo, with 11 trigger inputs and five trigger modes: basic, hold looping, latching loop, play next and play random. The 16 MB version holds roughly 15 minutes of compressed stereo audio, and a 2 MB version is also sold. The board runs from 3 to 5.5 V.
One detail catches builders out: the Audio FX stores files in its own onboard flash, not on a memory card. You load clips by connecting the board to a computer over USB, where it shows up as a drive. If you want to swap clips at a convention from a card, this is the wrong board.
Triggering is pull-to-ground. Adafruit’s documentation says each pin has a pull-up resistor, and you connect it to ground with a button or switch to trigger playback, with built-in debouncing. That makes it easy to drive from a microcontroller pin as well: set the pin low to play. An activity pin goes low during playback, which helps you avoid cutting off a clip in progress. There is also a UART mode, enabled by grounding a selector pin, for sending commands over serial.
Output is the other consideration. The board’s outputs are line level, described by Adafruit as suitable for headphones of about 30 ohms and not for large speakers, so a speaker needs an amplifier. An amplified variant with a built-in 2x2 W stereo amplifier is sold for 4 to 8 ohm speakers.
DFPlayer Mini
The DFPlayer Mini is a 20 mm square module that reads MP3 and WAV (and WMA) files from a microSD card up to 32 GB formatted FAT16 or FAT32, and includes a 3 W class D amplifier that can drive a 3, 4 or 8 ohm speaker. It is controlled over serial at 9600 baud, and a BUSY pin goes low while a track is playing.
The choice against the Audio FX is flexibility versus polish. The DFPlayer gives you a swappable card and a built-in amp for very little money, but it needs a microcontroller to send serial commands, and builders report fiddly behavior with power and noise. When driven loudly it draws fluctuating current, so use a supply that can handle it rather than the 5 V pin of an Arduino, and note that at full volume the amplifier chip gets hot.
Speaker and amplifier
Small speaker, built-in amp. For a display piece in a room, the amplified Audio FX or the DFPlayer’s built-in amp may be enough, driving a 4 to 8 ohm speaker directly.
Separate amp for volume. On a convention floor, you need more. Adafruit’s PAM8302 is a mono class D amplifier delivering up to 2.5 W into 4 to 8 ohms and running from 2.0 to 5.5 V. It takes a line-level input, so it pairs with the Audio FX’s unamplified outputs. Its output is bridge tied, so it should drive a speaker directly and never feed another amplifier. For a bigger system powered from the build’s 12 V rail, the internal electronics article suggests a higher-power class D board.
Speaker placement. The B9’s voice came from the chest area rather than the head, so mount the speaker behind the chest grille facing forward, with a sealed or ported enclosure rather than an open frame. Ventilated grille material helps, but any gap that lets the cone’s rear wave reach the front cancels bass.
Power and noise. Audio hates shared, noisy supplies. If you hear whine that changes with motor activity, give the sound board and amp their own supply or a filtered branch, and keep speaker wires away from motor leads. Reserve the motors and lighting for the main supply, and tie grounds together at a single point.
Triggering the phrases
Plan triggers around how the build will be used.
- Buttons. Wire momentary buttons to the Audio FX trigger pins and to ground. This is the simplest option and works well for a display where a person presses a button.
- Microcontroller. If an Arduino or similar already runs your lighting or rotation, connect its output pins to the trigger pins, and pulse them low. Use the activity pin to avoid retriggering while a clip is playing.
- Remote. A wireless remote receiver driving the same trigger inputs lets an operator fire phrases from across the room, which suits convention appearances.
- Sequenced. The play-next and random modes cycle through clips automatically, so a single button can produce varied responses.
Tie sound to light. A voice effect that flashes the chest lights while a clip plays makes the build feel alive, and the activity or busy pin tells your lighting code exactly when a clip starts and stops.
Keep clips short, since a few well-chosen lines get more play than long recordings, and normalize levels so one line is not much louder than the next.
The licensing question
Sound is where builders most often run into copyright. The show’s audio, the voice performances and the recordings are protected, and the character names and phrases are tied to trademarks held by others. This site is not affiliated with any rights holder, and nothing here is legal advice.
A few honest points:
- Short clips are not automatically safe. There is no fixed length below which copying audio is permitted. Fair use depends on purpose, amount, and effect on the market, and even short clips can be a problem if they are not transformative.
- Archives circulating in fan forums are not licenses. The builders club guide points to community resources, but a file being widely shared does not make it licensed.
- Personal display is lower risk than selling. A clip in a build that sits in your own home is a different situation from a recording distributed with a kit, sold with a build, or used in a monetized video. If you build for others, treat the audio as something you may not be able to supply.
- Owner-authorized recordings exist. A fan blog covering the Irwin Allen shows notes that the original robot voice actor, Dick Tufeld, recorded robot voice clips for owners of full-scale replicas. If such authorized material is available to you, that is the cleanest source, and its terms of use govern what you can do with it.
If you want a worry-free route, record your own lines in a sound-alike style and process them with a pitch shift and ring-modulation effect in free audio software, then save them as WAV files. You can make a mechanical voice saying a short stock phrase of your own wording without copying anyone’s recording.
A first-build recipe
- Pick the board: Audio FX for USB-loaded clips and pull-to-ground simplicity, DFPlayer for card swapping and a low price.
- Choose a speaker and amplifier sized to where the build will be shown.
- Prepare clips as mono or stereo WAV at modest length, named as the board expects.
- Wire triggers with ground returns, and power the audio on a clean supply.
- Test with the shell closed, because a speaker enclosed in a torso sounds nothing like one on the bench.
Sound is the cheapest way to change how a finished build feels. Keep the hardware simple, give the speaker a proper enclosure and clean power, and settle where your clips come from before you wire the first button.