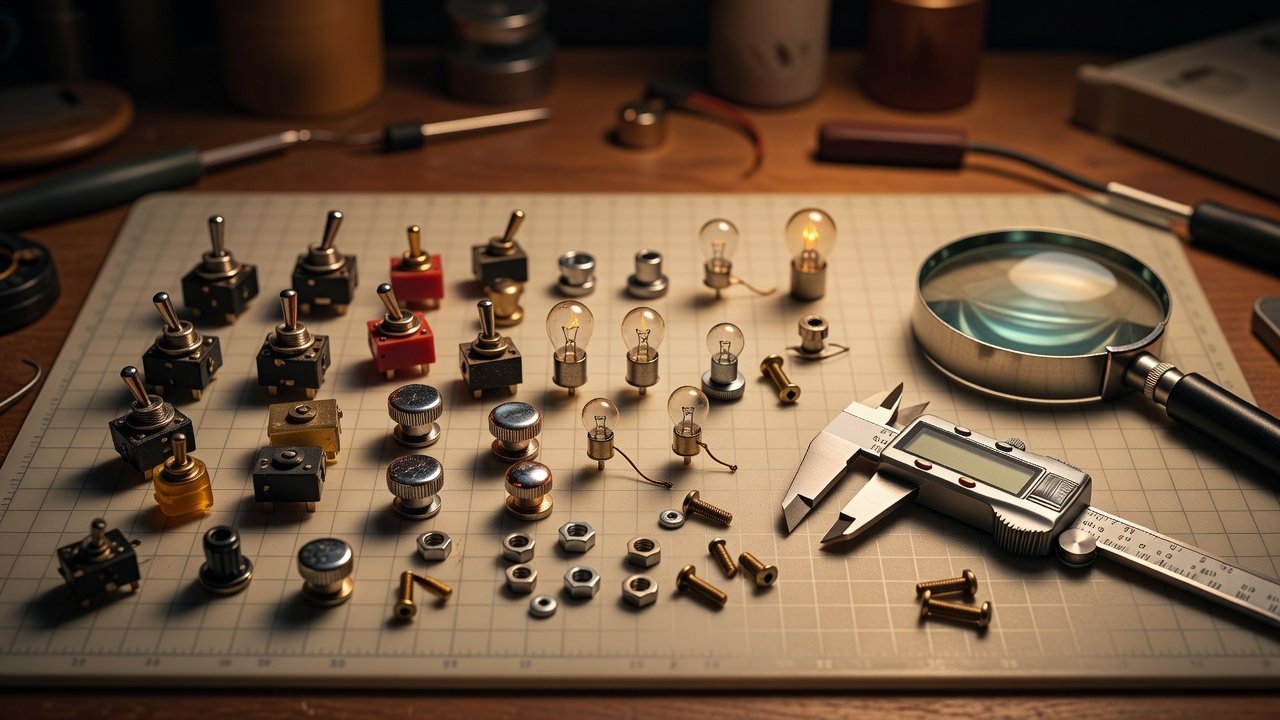
Every B9 builder reaches the same wall. The body sections have drawings and photographs, but the small items (the knobs, lamps, fasteners, and trim) are a different problem. Someone has to decide whether a part was custom-made for the show or bought from a catalogue, and then find an equivalent that you can buy today.
The trouble is that the documentation on this is thin. This article lays out what is actually sourced, what is forum lore, and a method for identifying a detail without inventing a part number.
What the public record supports
The well-documented facts concern the robot itself. Designer Robert Kinoshita built two full-size robots for filming: a costume worn by Bob May, and a static stunt figure used for distant or hazardous shots. The costume was built by Bob Stewart. Both survived after the series and were later restored, and the stunt figure’s restoration, by modelmaker Greg Jein, is documented in some detail. The history of the B9 robot covers the production side.
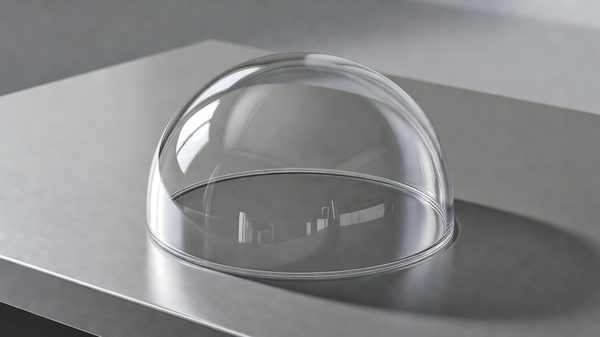
What the public record does not do is identify off-the-shelf components. The fan-site photo galleries for the surviving stunt robot list original pieces such as the collar, radar section, bubble lifter, torso, bellows, and knee sections, but they describe them as production pieces and do not name suppliers or catalogue numbers. A general encyclopaedia entry is the same: it describes the construction from the top down and does not say which items were bought rather than built.
So when someone online states that a particular lamp holder or switch was a specific commercial model, treat it as a claim awaiting a source. It may be right. It is not documented.
Why identification is harder than it looks
Three things get in the way.
The original is not a clean reference. The surviving figures were modified after the series (the stunt robot was reportedly repurposed for another production), later repainted, and restored with replacement parts. A restoration replaces missing items with the nearest available substitute. A detail you photograph on a restored robot may therefore be a restorer’s choice and not the 1965 original. The club’s own getting-started guide warns builders to learn to spot mistakes in the restored original.
Drawings and the robot disagree. The same guide notes that blueprints exist but the original differs from them. A part shown on a drawing is evidence of intent, not of what was bolted on.
Catalogue hardware from the 1960s has moved on. Even where a part was commercial, the manufacturer may have changed the design, and the exact item may only turn up as vintage stock.
A method that holds up
Work in this order and write down your confidence at each step.
1. Define the detail by function and measurement. Before you search for a name, record what the part does, its overall dimensions, its mounting method, and what it is made of. A caliper reading beats an adjective. Photograph it from the front, the side, and the back if the reference allows.
2. Gather reference photographs by source type. Keep the pictures from the surviving stunt figure, from auction galleries, from screen captures, and from other builders’ completed replicas in separate groups. When they disagree, you have found a detail that needs a decision, and you should log the disagreement instead of picking silently.
3. Search by function, not by lore. Look for the category of hardware (panel lamp, toggle, grommet, hose clamp) and compare shape and proportion against your measurements. Industrial and electronic surplus catalogues, and the used-parts market, are where period-appropriate items tend to turn up.
4. Ask the community, with evidence. The B9 Builders Club is the best single place to test a theory, because many members have already handled this question. Post your photographs and measurements, and say which reference source each image came from. The club also sells officially authorised parts, and its guide singles out the bubble and torso as the items most worth buying rather than making. Check the current parts list before you start identifying hardware for a section the club already supplies.
5. Label the result. Keep a build notebook with three headings: documented (you have a source), probable (matches in shape, size, and period), and substitute (you chose it because it works). This costs little and saves you from repeating a forum rumour as fact in your own build log years later.
When no commercial match exists
Sometimes the honest answer is that the detail was custom-made. In that case you have three routes. You can machine or fabricate it, you can cast it from a pattern you make yourself (the resin casting guides cover the process), or you can find the closest stock item and accept the difference. A replica that is slightly off in a small detail but cleanly labelled in your notes is more useful to the next builder than one with a confident guess baked in.
Using this in practice
Start with the sections where the part count is high and the visible detail is greatest, such as the radar section and the internal electronics. Build a small table for each: the detail, its measurements, your reference photos, the confidence label, and where you intend to source it. Do this before ordering anything.
Then, when you find a likely commercial match, buy one and test-fit it against the body before buying a set. And when you post your findings, include the label. Documented, probable, and substitute are three different statements, and the community’s reference material only gets better when builders keep them apart.