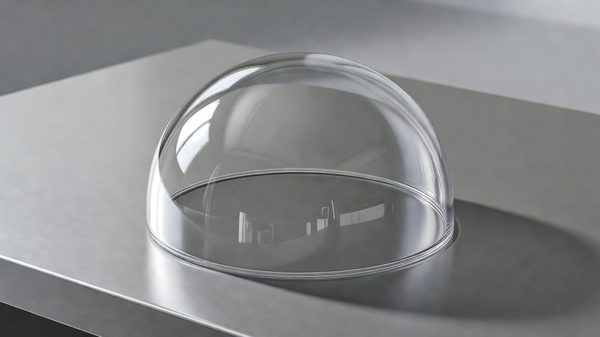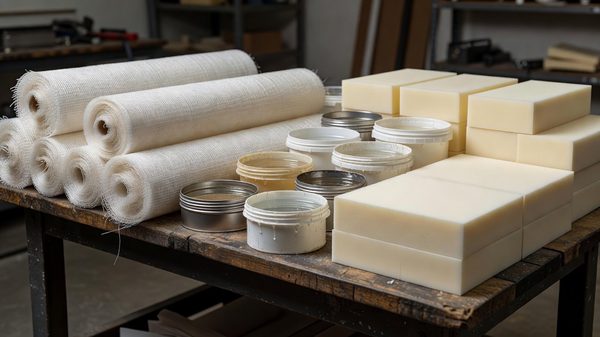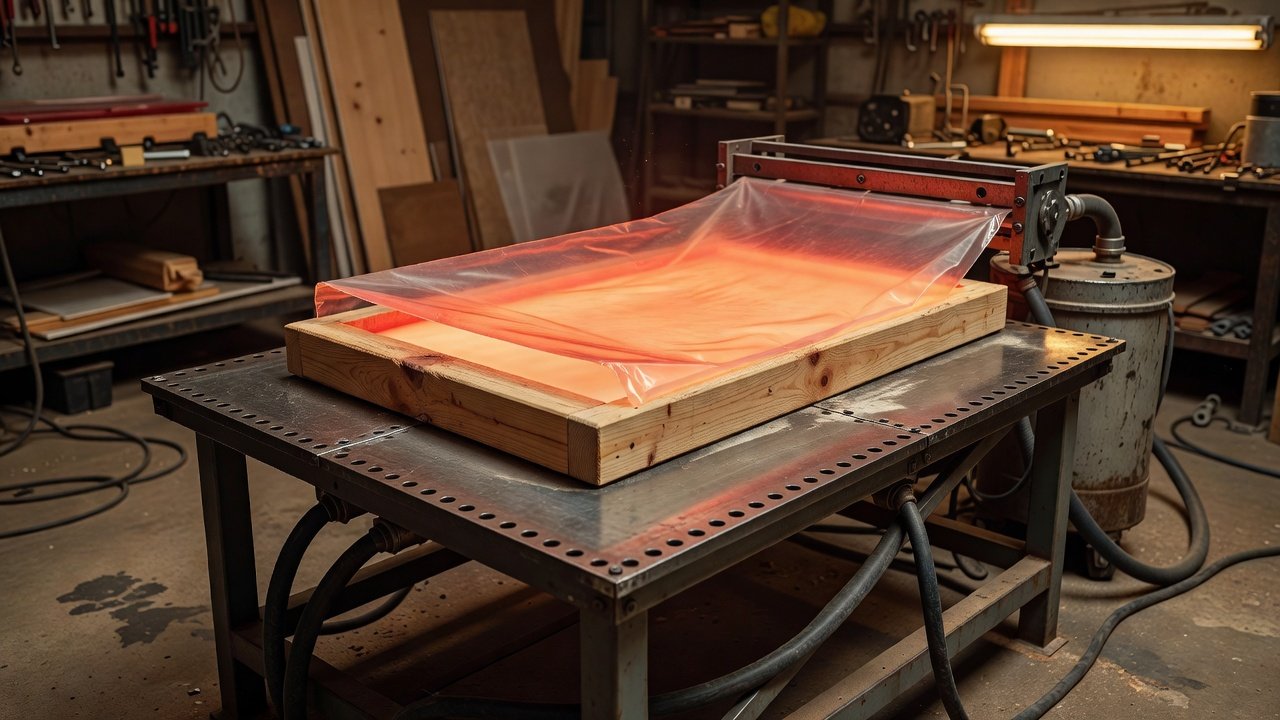
For a large hollow shell — a torso section, a leg cover, a chest plate — there are three realistic routes: fiberglass layup over a mould, resin casting from a silicone mould, or vacuum forming over a buck. Most builders default to whichever one they already know. That is a reasonable default, but each route has a shape of part it is genuinely better at, and vacuum forming is underused for exactly the parts it suits best.
Where vacuum forming wins
A vacuum-formed ABS shell is structurally sound and considerably lighter than the same part in fiberglass or cast resin. For anything that moves, hangs, or gets lifted repeatedly, that weight difference compounds — lighter shells mean smaller motors, less structural bracing, and a build you can actually pick up.
It is also fast once tooling exists. A formed part comes off the machine in minutes. A fiberglass layup needs wet-out, cure and demould; a resin cast needs a silicone mould that took a day to make and a pour that takes an hour to kick.
And it is clean work. No styrene fumes, no exotherm, no chopped strand in your forearms.
Where it loses
Undercuts. A formed sheet has to release from the buck. Anything that traps the plastic requires a split buck or a redesign. Silicone moulds do not care about undercuts; thermoforming cares enormously.
Wall thickness control. In casting you decide the thickness. In forming, the sheet thins wherever it stretches, and the deepest draw is always the thinnest point.
Detail. Formed parts reproduce broad shape well and crisp fine detail poorly. Panel lines and rivets usually come from surface detail added afterwards.
Part size versus machine size. You are limited by the platen. Heavy-gauge shops handle full 4×8 sheets up to about 3/8" thick, which is enormous; a hobby machine built around an oven is not.
The design rules that decide whether the part forms
The thermoforming guideline worth committing to memory is the 10-10-5 rule:
- Draw depth should not exceed roughly 10 times sheet thickness.
- Minimum corner radius should be at least 10% of draw depth.
- Draft angle should be at least 5 degrees for clean release.
Alongside that, know your material’s draw ratio. ABS and HIPS reach around 2:1 unassisted and 3:1 with plug assist. A plug assist is a shaped former that pre-stretches the sheet mechanically before the vacuum pulls it — a real addition to the tooling, but the difference between a part that forms and one that tears.
Run those numbers before you build the buck, not after. A buck with vertical walls and sharp internal corners will not release, and no amount of vacuum fixes it.
Choosing the sheet
HIPS — high-impact polystyrene. Inexpensive, forms easily at lower temperature, good for practice pulls, liners, and anything not taking impact. Less strong than ABS.
ABS — the prop standard. Around 0.090" is the common choice for wearable armour and similar shells: strong enough to hold shape, thin enough to draw well, and it glues, sands and paints without drama.
PETG — where you want clarity or a sharper radius than ABS gives.
Kydex — tough, good for hard-use parts, less forgiving to form.
For a large structural shell, ABS at 0.090"–0.125" is the sensible starting point. Thicker stock resists the draw and needs more heat and more vacuum than a hobby setup usually has.
Buck construction
The buck is what determines the finish, and it takes most of the total effort.
Build it oversized by the sheet thickness if the formed part must fit something. Use MDF, tooling board, or a laminated stack of foam sealed with body filler and primer — smooth and hard enough to withstand hot plastic and vacuum pressure. Sand it further than feels necessary: every scratch prints.
Drill vent holes at the lowest points of the shape, then at any internal corner where air will otherwise be trapped. Small — 1/32" or so — and plentiful. Trapped air is the second most common defect after uneven heating.
Add the draft and radius the edges. If the geometry genuinely cannot avoid an undercut, split the buck and plan to bond the halves after forming.
Heat is the whole game
Uneven heating is the number-one failure mode. The sheet needs to reach forming temperature across its full area, and hobby setups usually have hot spots near the elements and cold zones at the corners. Symptoms are easy to read: thin, over-drawn regions where it was too hot, and stubborn, under-formed regions where it was too cold.
Forming temperature is a window, not a number. Too cold and the sheet will not draw; too hot and it webs, sags unevenly and thins badly. The reliable technique is to watch the sag rather than the clock — a sheet at temperature develops a distinctive gentle, even droop, and that is the moment to pull.
The realistic comparison
For a large, relatively simple, convex shell where weight matters — vacuum form it. For a complex part with undercuts and fine surface detail — silicone mould and cast it. For a very large one-off with compound curves and no buck-making appetite — fiberglass over a plug.
And there is the hybrid that most experienced builders converge on: vacuum-form the broad shell, then add crisp detail as separate cast or laser-cut parts bonded on. That combination gives the light, fast, repeatable base structure of thermoforming and the detail resolution of casting, and it is nearly always less total work than forcing either process to do the whole job.